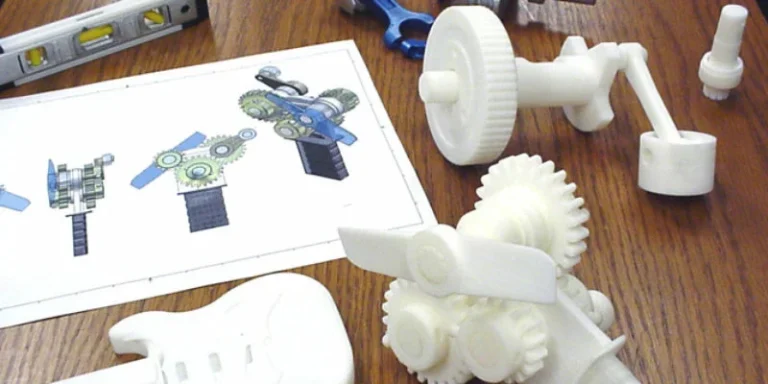
There are roughly 10 major rapid prototyping technologies, depending on how you group them. Which one should you choose for the medical device you’ve designed? Or maybe you’ve created something for cars, airplanes, or even a kitchen appliance. Each industry and product has its own unique requirements for prototypes. And you probably have some specific considerations as well, right? Should the prototype just look good to impress investors? Or do you need to test its functionality, which might allow you to forgo a perfect surface finish and opt for something more cost-effective? Perhaps you need to conduct rigorous tests, like bashing, heating, or submerging the prototype in water.
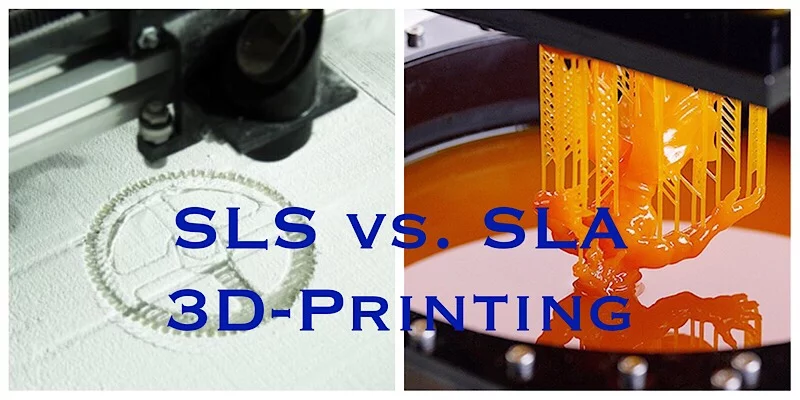
Each of these products and their intended uses has an ideal technology for creating its prototype. If I were to compare all the methods in one article, it would become an hour-long read, and no one has time for that nowadays. So, let’s focus on two techniques that cover about 30% of the prototyping market: SLA prototyping and SLS prototyping for plastics. So, here we go with SLA 3D printing vs. SLS 3D printing.
Development Of SLA Printing
SLA, or stereolithography, is one of the oldest technologies in the 3D printing world. It was discovered in the early 1980s in Japan. Dr. Hideo Kodama conceptualized a device that used a liquid polymer tank and a single UV laser.
The laser cured the surface layer of the polymer, making it hard, and then submerged the layer slightly into the tank. This process allowed the hardened plastic to serve as the base for the next layer. Unfortunately, Dr. Kodama didn’t have sufficient funding for his research and missed out on securing a patent.
In 1984, a group of French scientists was working on creating a fractal part—a very complex, intricate geometry—for their project. They thought of using a laser to harden polymers and filed for a prototype. However, they didn’t focus enough on commercialization, and their idea wasn’t taken seriously.
In the same year, Chuck Hull, an American inventor, became the third person to come up with such a method and filed a patent for the stereolithography process. He meticulously planned everything and founded a company called 3D Systems to market his idea. Today, 3D Systems is one of the largest companies manufacturing 3D printers.
SLA Printing Technology
There are actually two methods of SLA printing: let’s call them direct and reverse SLA.
The direct process is the original method of SLA printing. It involves a liquid polymer tank and a base plate that is positioned just below the surface of the polymer. A UV laser traces the current cross-section of the part (the program slices the part into layers and generates the laser path for each slice), creating the first hardened layer. After curing the first layer, the plate lowers by one layer height, and a specialized blade moves across the surface of the tank to ensure that the polymer fills the area above the plate completely. The next layer is then cured, and this process repeats layer by layer.
The reverse method differs in terms of part orientation and movement. In this method, the base plate is transparent and positioned upside down compared to the direct method. The laser cures the polymer through the transparent plate, and instead of the plate moving down, it moves up. You can compare this process to slowly retrieving an object out of water, except in this case, the object is being created out of the liquid polymer in the tank as the plate rises.
Description And History Of SLS
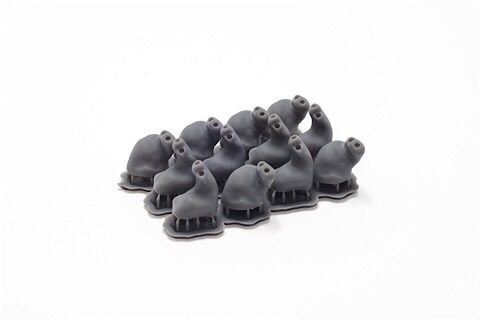
SLS (Selective Laser Sintering) is a similar 3D printing process developed by Texas professor Carl Deckard. As an engineer, Deckard aimed to reduce the amount of casting required for serial production. He eventually sold his patent to 3D Systems, which later expanded the use of SLS to metal powders, revolutionizing metal parts production. Today, SLS is the most widespread method for printing metal parts. However, the fine powder used in SLS is hazardous and easy to inhale, making it unsuitable for desktop hobby versions, unlike SLA.
The SLS process primarily uses plastic powder as its material. This powder is spread evenly over the base plate with a specialized blade. Following this, similar to SLA, a laser traces the cross-section of the part. After the laser cures the layer, the base plate is lowered by one layer height, and a new layer of powder is spread out. The process repeats layer by layer. As you can see, the fundamental steps of SLS are quite similar to those of SLA.
Materials
SLA (Stereolithography) uses photopolymers—polymers that harden when exposed to UV light. These resins come in various compositions, tailored for different applications:
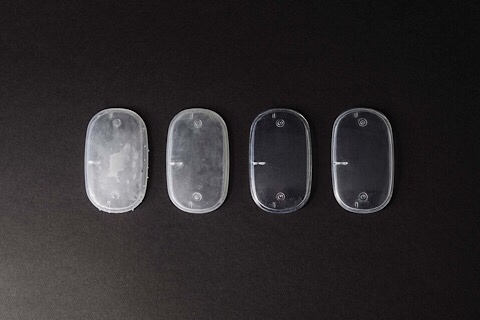
- Standard Resins: These are the most affordable but have the least impressive mechanical properties. However, their surface quality is excellent, comparable to injection molding. Some standard resins are transparent, making them ideal for creating clear prototypes, such as car lights.
- Engineering Resins: These resins are suitable for functional prototypes and come in various forms, including ABS-like, heat-resistant, stiff, or flexible. They maintain a good surface finish and offer better strength compared to standard resins.
- Medical Resins: Among the photopolymers used in SLA printing, some are classified as Class I and II biocompatible. This means they can be in prolonged contact with human tissue, a significant advantage for medical applications.
SLS (Selective Laser Sintering) initially used nylon as its primary material. Over the years, other materials have been adapted for this technology:
- Nylon: This remains the most widely used plastic in SLS. It is significantly more durable, heat-resistant, and tough compared to all SLA materials.
- Urethane: This flexible plastic is suitable for casting simple polymer parts, offering good flexibility and ease of use.
- Wax: Wax is ideal for creating casting models. You can cover the wax model with a forming mixture and then heat it until the wax melts away, leaving a perfect mold for further casting processes.
Post-Processing
SLA (Stereolithography)
Main Disadvantages:
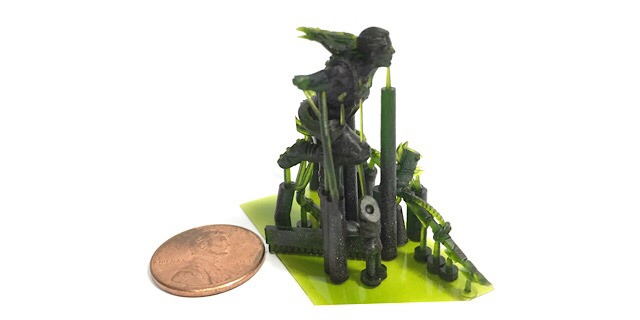
- Support Structures: SLA printing requires a lot of support structures, which are made from the same material as the printed part. Removing these supports necessitates cutting operations, and the cut-off regions must be cleaned thoroughly to remove any remnants of the supports. This entire process can be quite time-consuming.
- Incomplete Curing: The printed part is not fully cured after the initial printing process. Some areas between layers may only be partially cured. To enhance the strength of the printed parts, it is recommended to use UV light chambers for post-curing. While this step is not absolutely necessary, it can significantly improve the durability of the final product.
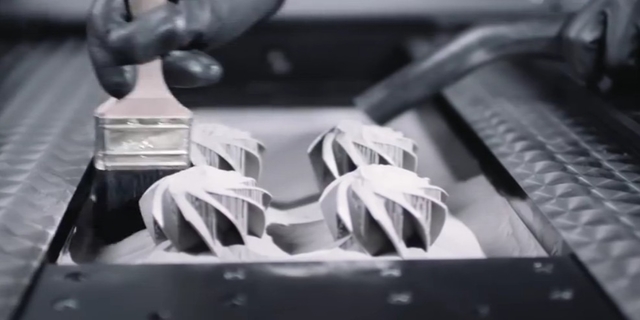
SLS (Selective Laser Sintering)
Main Disadvantages:
- Surface Finish: SLS parts typically have a rougher surface finish compared to SLA parts. If a high-quality surface finish is required, SLS parts need to undergo sanding and mechanical post-processing. This additional step can be quite time-consuming.
In summary, while SLA offers excellent surface quality and precision, it requires significant post-processing to remove supports and ensure complete curing. On the other hand, SLS provides more durable parts but often requires extensive post-processing to achieve a smooth surface finish.
In Conclusion: What to Use When?
SLA (Stereolithography)
SLA printing yields high-quality parts with excellent surface finishes, but it is generally more expensive than SLS. One of the reasons for the higher cost is that in direct SLA, the leftover liquid plastic in the tank cannot be reused and has a limited shelf life, so it’s better to keep the printer loaded. Additionally, the process requires the removal of support structures, which can be time-consuming. However, SLA offers a wide range of material options.
When to Use SLA:
- Medical Equipment: Ideal for creating biocompatible parts.
- Transparent Parts: Perfect for applications like car lights where clarity is essential.
- Injection Molding or Casting Models: Good for creating high-precision molds.
- Showcasing Products: Excellent for presentation-quality prototypes due to its superior surface finish and detail.
SLS (Selective Laser Sintering)
SLS provides parts with much better strength and other mechanical properties compared to SLA. However, the surface finish of SLS parts is typically rougher (about 2-3 classes lower than SLA). The process is more cost-effective because it doesn’t require support structures (previous powder layers support the higher layers) and allows for the reuse of leftover powder.
When to Use SLS:
- High-Load Applications: Suitable for parts that need to withstand greater loads, corrosion, or vibration.
- Budget Constraints: Ideal when cost is a significant factor.
- Functional Testing: Good for creating durable prototypes for testing purposes.
- Non-Critical Surface Finish: Use when the surface finish is not a primary concern.
In summary, choose SLA for applications requiring high detail, excellent surface finish, and specialized materials, especially in medical and presentation contexts. Opt for SLS when you need strong, durable parts and cost-efficiency, particularly for functional prototypes and testing.