The automotive industry is fiercely competitive, with approximately 30% of the world’s cars manufactured in China and 10% in Japan. Globally, around 72 million automobiles are produced annually, resulting in a myriad of different designs, likely numbering in the thousands. Each car typically incorporates at least two lights, with many featuring additional lamps on the rear windshield.
Given the significant value consumers place on design when selecting a vehicle, investing time and resources into the creation of high-quality car lamps is a prudent decision. This article will outline the essential steps involved in designing and producing a light guide for automotive headlights.

What Are Light Guides?
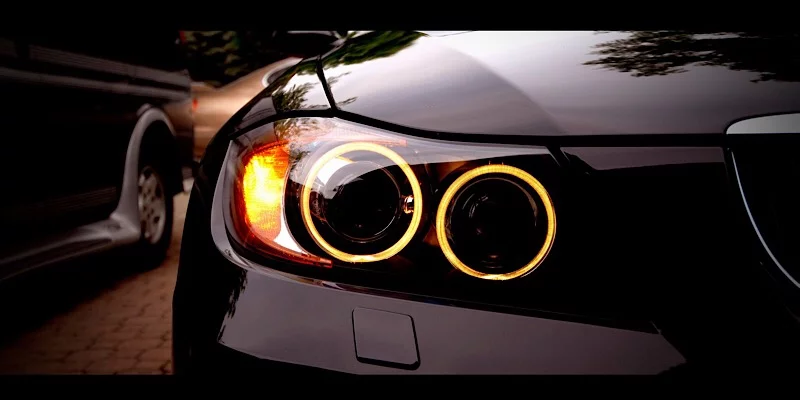
Light guides are specialized tubes typically made of materials such as PMMA (acrylic glass) or polycarbonate. Their primary advantage lies in their ability to transmit light effectively. The optical design of the guide ensures that when a light source is placed at one end of the tube, the light is transmitted along the entire length of the tube. Essentially, the light ray reflects from the surface of the guide, zigzagging in the direction of its axis. The larger the entrance angle, the brighter the shaft of light. This property enables the creation of intricate and visually appealing light shafts, making them ideal for use in car lamps. If you have an example picture, feel free to share it!
Design And Requirements
The process of designing a light guide involves determining the trajectory of the tube and selecting its outer and inner diameters. Most light guide designs aim to accentuate the contours of the lamp. This can be achieved by shaping the tube to the required form and positioning LED diodes either at one end of the pipe at an angle of 30-45 degrees or by placing numerous smaller diodes along the entire length of the pipe.
Light tubes have specific requirements, including the need to transmit light with at least 50% efficiency. To achieve this, the light guide must be completely clear, devoid of bubbles or irregularities in its structure to prevent light distortions. Additionally, to reflect and transmit adequate light, the surface of the tube must be extremely smooth. Pipe surface finishes often reach as low as Ra 0.32 microns to meet these criteria.
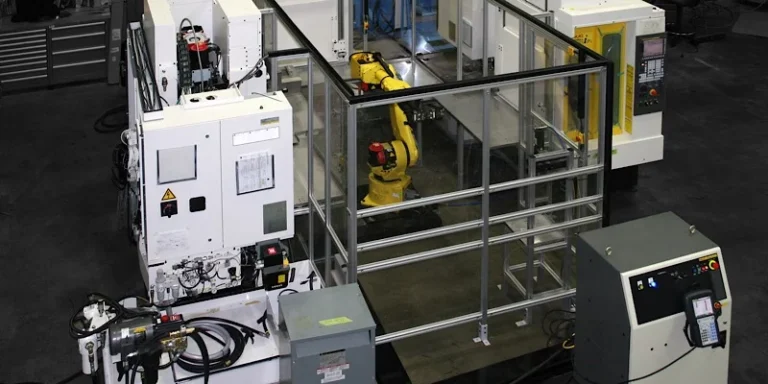
Casting
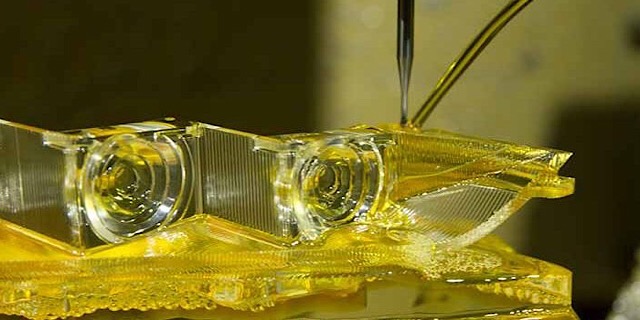
PMMA is an excellent material for both casting and injection molding. While injection molding is well-suited for mass production, its tooling can be prohibitively expensive for smaller production runs. This is why urethane casting has become the most prevalent PMMA prototyping method. The press-form is more cost-effective as it is made of silicone instead of steel, which is used in injection molding. Typically, one unit is adequate to cast 12-20 parts.
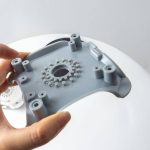
The surface finish of the resulting part is contingent on the quality of the master model. This master model can be machined or 3D-printed and post-processed to achieve the necessary quality. It is important to note that if you plan to cast the parts yourself, it is advisable to consider obtaining the master model from a prototyping machine shop. They will be able to produce a superior master model, resulting in higher quality parts after casting and reducing the amount of machining required later on.
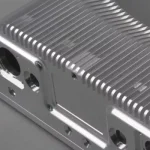
Preliminary Machining
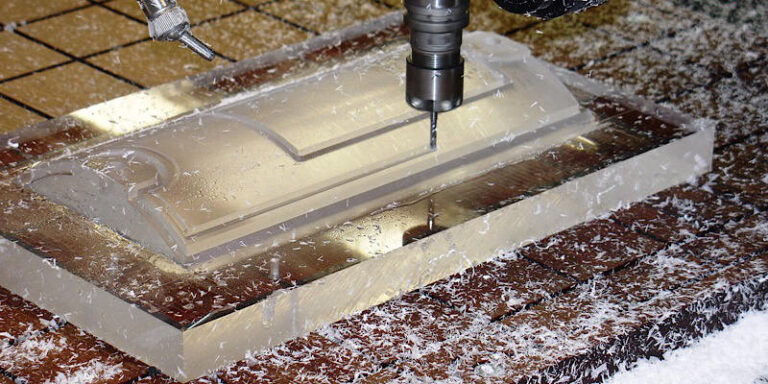
After casting the part, it’s important to note that most manufacturing methods involving the melting and solidifying of materials do not offer high precision, and the surface finish may not be as smooth as glass. This is why machining is often the subsequent step in creating a precise light guide. To achieve a clear and accurate part, multiple processing steps are typically required.
The initial step is preliminary machining, which is utilized to machine mounting holes and secondary surfaces on the part.
Finishing Operations
Completing the guide represents the most challenging phase. Any errors at this stage may necessitate starting over and remaking the part from scratch. Typically, this stage demands precise 5-axis milling. Following this, an extremely thin, pointed diamond tool is employed to machine the PMMA to achieve a glass-like structure. To ensure maximum surface uniformity, the part undergoes a polishing process. This generally involves using sandpaper ranging from 400 to 600 grit, depending on the initial quality of the part, and culminates at approximately 1500-2000 grit with the application of a special polishing paste.
The outcome is a transparent, clear surface with optical properties akin to simple glass, yet with significantly higher tensile strength and lower brittleness. Such a guide can withstand substantial collisions.

Testing The Lights
To assess the efficiency of the constructed light guide, testing is essential, with photometry being a key process in this regard. Photometry enables the estimation of lighting and its impact on human perception. The testing setup typically includes a prototype of the handlamp fixed on a specialized turntable, a screen with a window to measure a specific portion of the light, and a photometer positioned behind this window. In some cases, a spectrometer is incorporated to evaluate the “warmth” of the light.
During testing, the lamp is placed on the turntable and activated. The measuring devices record the light results as the turntable rotates and the photometer is adjusted closer to or further from the window screen. These measurements provide a comprehensive characterization of the luminous flux of the light guide.
If the light guide produces less light than desired, there is a solution that avoids redesigning and remaking the guide. By adjusting the light source so that the angle between the tube face and the main light direction is reduced, more light can be transmitted. This adjustment allows light to enter at a larger angle, leading to increased reflections within the tube and improved light transmission through the plastic.
Conclusions
Creating clear plastic prototypes indeed represents one of the most challenging processes in the polymer industry. It’s crucial to thoroughly check and recheck the design and manufacturing technology before delving into plastic processing. This meticulous approach helps avoid potential issues and saves both time and money. Opting to place an order from a specialized manufacturer can be particularly beneficial, especially during the prototyping stage, where the possibility of rework is always a consideration.