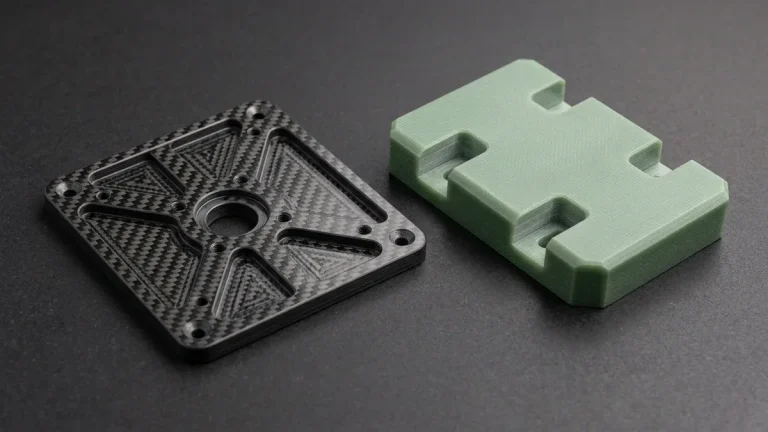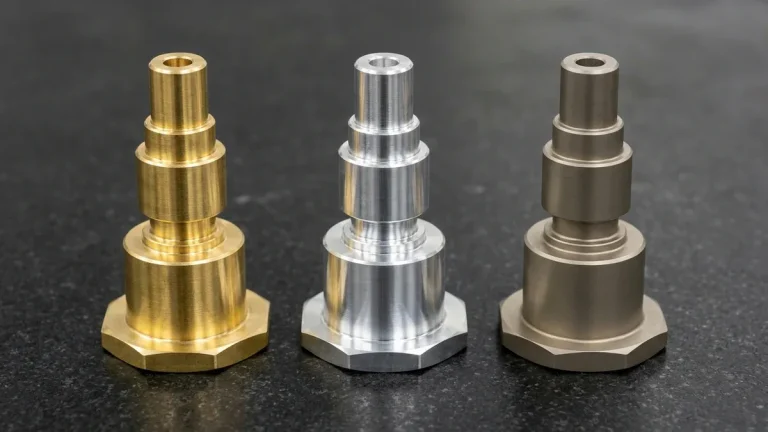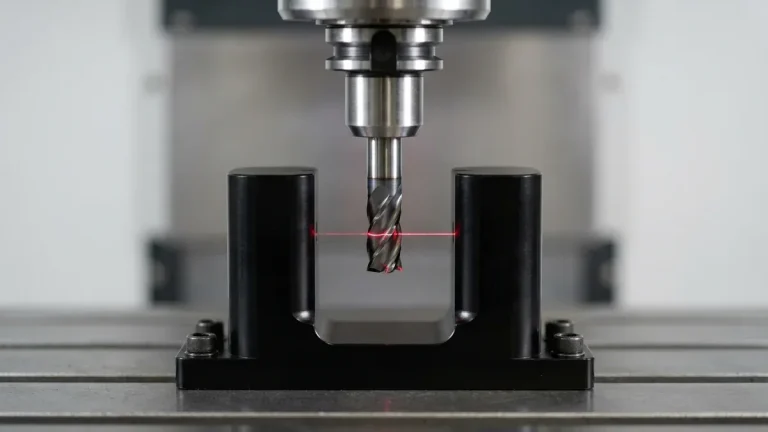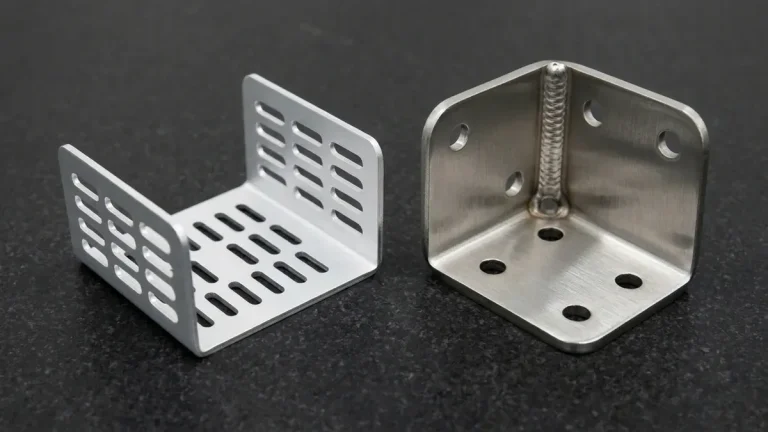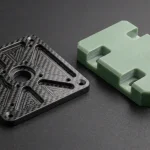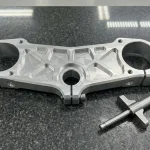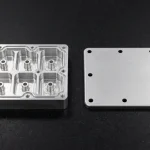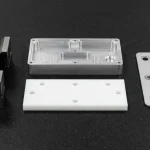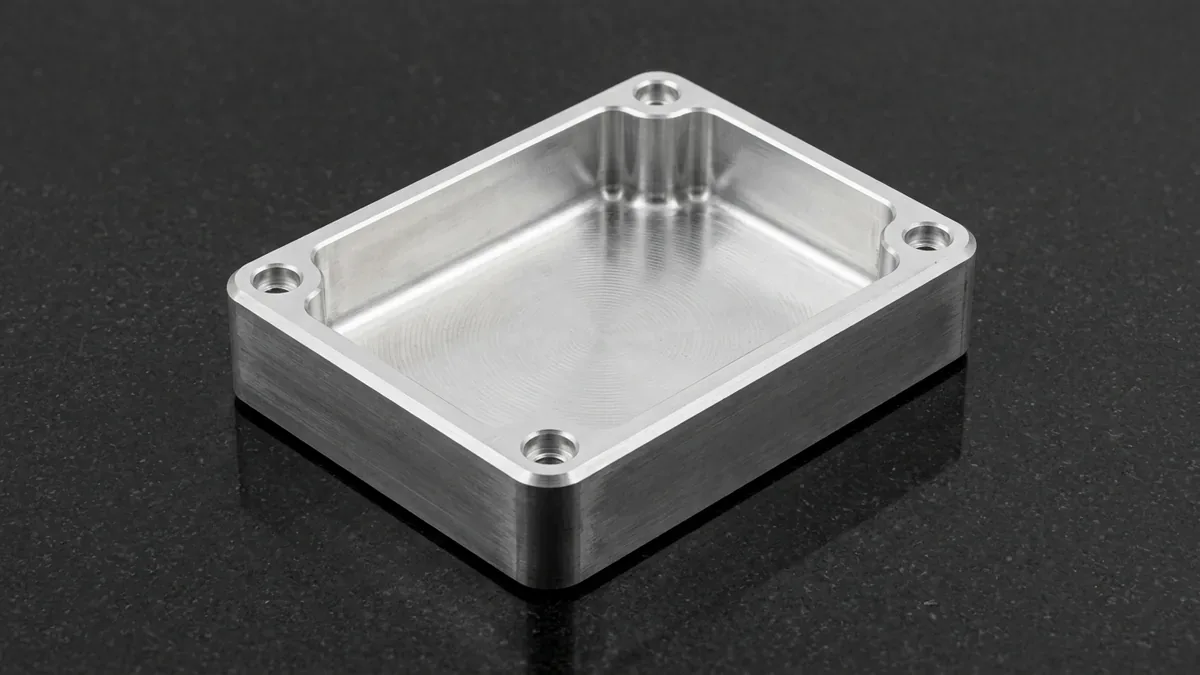
Implementing practical design guidelines for CNC milled parts bridges the critical gap between digital 3D CAD modeling and shop-floor manufacturability. Consequently, observing rotary cutter constraints eliminates tool chatter, excessive cycle times, and scrap parts.
Subtractive milling cuts geometries via high-speed rotating cutters operating along multiple linear axes. Furthermore, utilizing precision CNC milling services ensures tight dimensional compliance to ISO 2768-mK standards.
When part geometries require undercuts or compound 3D contours across multiple faces, standard 3-axis setups require repositioning. Specifically, transitioning to simultaneous 5-axis machining reduces fixturing cycles from six setups down to one.
Executive Summary & Engineering Takeaways (BLUF)
- Core Focus & DFM Scope: Actionable shop-floor engineering guidelines for Design Guidelines for CNC Milled Parts, covering material selection, geometric tolerancing, and defect prevention.
- Achievable Tolerance Envelope: General features hold ISO 2768-mK; critical bearing bores, dowel pins, and mating datums hold ±0.010 to ±0.020 mm (±0.0004″ to ±0.0008″), with Wire EDM/grinding to ±0.005 mm (±0.0002″).
- Machining & Surface Integrity: High-speed 3-axis and 4-axis VMCs (with simultaneous 5-axis for complex contours) delivering as-machined Ra 0.8 µm (32 µin) to Ra 0.4 µm (16 µin) per ASME B46.1.
- Metrology & Process Control: On-machine spindle probing paired with 20°C (68°F) climate-controlled Zeiss CMM coordinate verification (available upon request for critical dimensions) and calibrated Go/No-Go plug/ring gauges.
- Ex-Factory Turnaround: 4 to 8 business days for as-machined rapid prototypes; 7 to 12 business days for anodized, plated, or multi-operation production runs (excluding 3–5 days air transit).
Article Engineering Navigation
- 1. Core Mechanical Constraints of Rotary Milling
- 2. CNC Milling Design Rules Matrix
- 3. Optimizing Machining Workholding & Setups
- 4. Axis Configurations and Setup Efficiency Comparison
- 5. Why Do Precision CNC Components Fail Tight Tolerances in Production, and How Do You Prevent It?
- 6. Technical Engineering FAQ
1. Core Mechanical Constraints of Rotary Milling
Rotary cutting tools operate under rigid geometric and physical boundaries during metal removal. For example, circular end mills cannot produce square inside corners without secondary broaching or EDM.
In addition, slender cutting tools deflect when side-milling deep cavity pockets. Therefore, excessive tool stick-out causes severe chatter and dimensional taper.
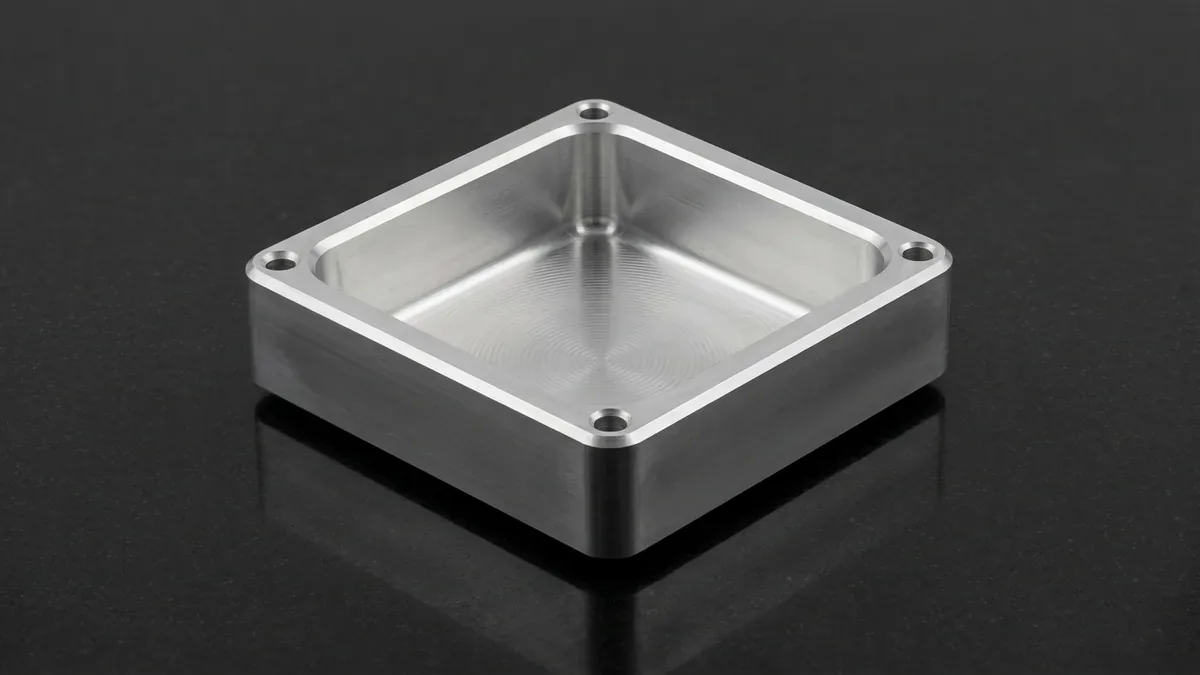
Understanding these physical cutter boundaries prevents expensive CAD redesigns after quoting. Additionally, optimizing wall thicknesses preserves rigidity during aggressive roughing passes.
2. CNC Milling Design Rules Matrix
CAD designers should incorporate standardized cutter allowances during initial feature modeling. To illustrate, review the fundamental milling guidelines below:
| Geometric Feature | Recommended DFM Value | Feasible Limit / Minimum | Chatter & Failure Risk | Preferred Engineering Solution |
|---|---|---|---|---|
| Internal Corner Radii | Radius > 1/3 of cavity depth | 0.5 mm radius | Extreme cutter chatter in sharp 90° corners | Size corner radius larger than end mill radius |
| Pocket Depth Ratio | Depth ≤ 3× tool diameter | Depth ≤ 6× tool diameter | Tool deflection and chip packing | Widen pocket cavities or increase corner radii to accept larger-diameter stub cutters |
| Wall Thickness (Aluminum) | 1.5 mm to 2.0 mm | 0.8 mm | Vibration, bending, and harmonic chatter | Maintain uniform 2.0 mm walls with gussets |
| Wall Thickness (Plastic) | 2.0 mm to 3.0 mm | 1.5 mm | Thermal softening and elastic distortion | Support thin walls with external ribs |
| Hole Depth-to-Diameter | Depth ≤ 4× hole diameter | Depth ≤ 8× hole diameter | Drill bit wander and chip jamming | Use standard drill sizes with peck drilling cycles |
3. Optimizing Machining Workholding & Setups
Each time a machinist unclamps and rotates a workpiece, setup errors accumulate. Consequently, positional tolerances degrade across opposite reference faces.
To preserve accuracy, designers align major machined features along a single primary coordinate orientation. Therefore, roughing and finishing occur in a single fixturing pass.
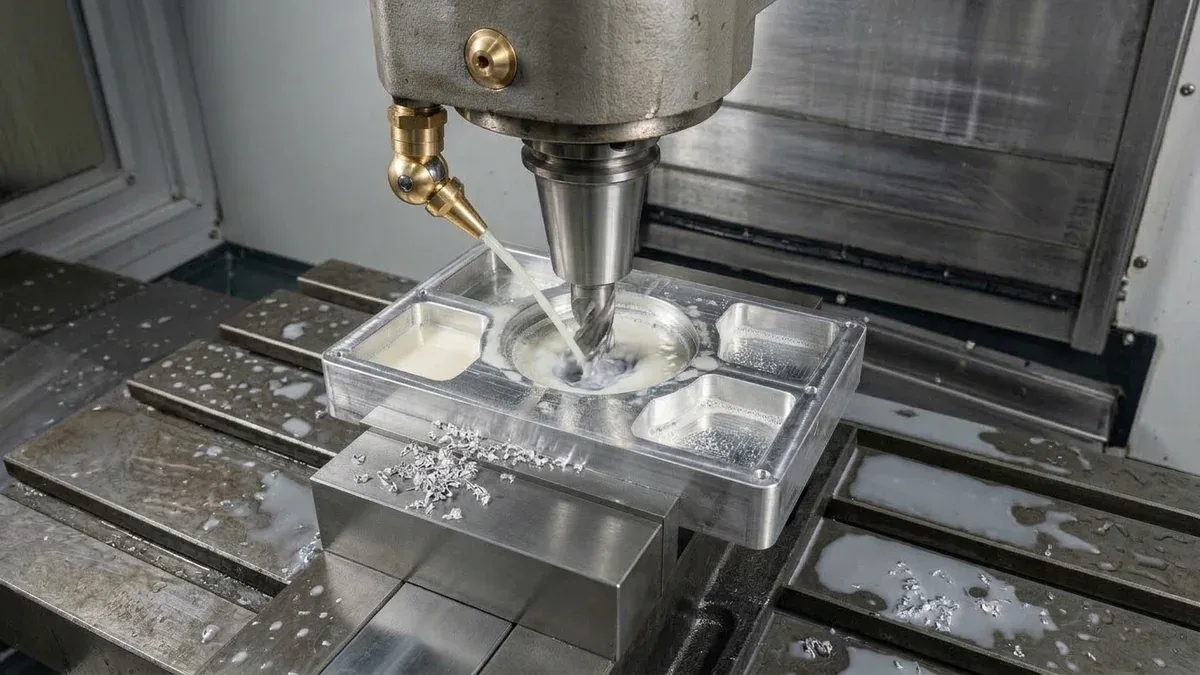
Furthermore, standard vise workholding requires parallel clamping lands. Thus, providing flat bottom surfaces minimizes custom soft jaw fabrication costs.
4. Axis Configurations and Setup Efficiency Comparison
Selecting the proper machine architecture dramatically impacts part lead times and cumulative tolerances. To illustrate, review the setup comparison below:
| Machine Architecture | Typical Setups (6-Sided Part) | Fixturing Complexity | Cumulative Error Risk | Best Component Profile |
|---|---|---|---|---|
| 3-Axis CNC Mill | 4 to 6 Operations | Requires custom soft jaws & flip fixtures | ±0.025 mm stacking error | Prismatic plates, brackets, planar manifolds |
| 4-Axis Indexer Mill | 2 to 3 Operations | Tombstone or rotary chuck fixtures | ±0.015 mm stacking error | Rotary shafts, radial holes, cam cylinders |
| 5-Axis Simultaneous | 1 to 2 Operations | Pneumatic dovetail or self-centering vise | ±0.010 mm (±0.0004″) single-datum accuracy | Impellers, blisks, aerospace organic housings |
5. Why Do Precision CNC Components Fail Tight Tolerances in Production, and How Do You Prevent It?
Maintaining repeatable accuracy in DFM-optimized CNC milled components requires controlling radial tool deflection, internal residual stress relaxation, and thermal expansion drift across multi-axis setups. While general unmated features reliably conform to ISO 2768-mK, holding critical mating bores and datum surfaces within ±0.010 mm (±0.0004″) demands staged roughing-to-finishing stress relief and rigid workholding.
Shop-Floor Quantitative Derivation: Cantilever Tool Deflection & Thermal Drift Compensation
In our Shenzhen CNC machine shop, preventing wall taper and bore bell-mouthing in DFM-optimized CNC milled components begins with calculating cantilever end-mill deflection (δ) before releasing G-code to the spindle. Modeled as a cylindrical carbide beam of diameter D and stickout length L subjected to radial cutting force Fr, tool deflection follows the fourth-power stiffness law:
δ = (64 × Fr × L³) / (3 × π × E × D⁴)
For a solid carbide end mill (E = 600 GPa / 87,000 ksi) with diameter D = 8.0 mm (0.315″), stickout L = 36 mm (4.5×D), and radial cutting load Fr = 180 N (40.5 lbf), the resulting deflection is δ = (64 × 180 × 36³) / (3 × 3.1416 × 600,000 × 4,096) = 0.0232 mm (0.00091″)—instantly consuming a ±0.010 mm (±0.0004″) drawing tolerance!
By stepping up to a D = 10.0 mm (0.394″) corner-radius tool and reducing stickout to L = 28 mm (2.8×D) with a 0.15 mm (0.006″) semi-finishing spring pass (Fr = 45 N), radial deflection drops to δ = 0.0011 mm (0.00004″), locking true position and cylindricity well within print limits.
Step-by-Step Shop-Floor Execution & Quality Protocol
To bridge CAD intent with repeatable shop-floor delivery, our engineering team enforces a four-stage execution workflow across every prototype and low-volume production batch:
- Step 1: Datum Hierarchy & 3/4/5-Axis Workholding Design: Align primary, secondary, and tertiary GD&T datums (A-B-C) with precision Kurt vises, custom-contoured 6061 aluminum soft jaws, or zero-point pneumatic pallets to minimize re-clamping datum shift.
- Step 2: Roughing & Intermediate Stress-Relief Stabilization: Execute high-efficiency trochoidal roughing leaving 0.30 to 0.50 mm (0.012″ to 0.020″) uniform stock, followed by unclamping or thermal stress-relief stabilization to release rolled-billet internal tension.
- Step 3: On-Machine Probing & Climate-Controlled Finishing: Re-probe work coordinate offsets via infrared spindle touch probes in a 20°C (68°F) shop environment, then execute climb-milling finish passes to achieve Ra 0.4–0.8 μm (16–32 μin).
- Step 4: Zeiss CMM Verification & Surface Treatment Masking: Perform first-article and critical-dimension inspection on programmable Zeiss CMM systems (available upon request), applying silicone plugs to H7 bores and tapped threads prior to MIL-A-8625 anodizing or ASTM A967 passivation.
Shop-Floor Defect Troubleshooting & Corrective Action Matrix
When evaluating part geometry during pre-production DFM review, our manufacturing engineers screen for the following failure modes and apply proven corrective controls:
| Defect / Symptom | Physical Root Cause | Shop-Floor Corrective Action | Recommended DFM Spec Limit |
|---|---|---|---|
| Thin-Wall Warpage & Bowing | Asymmetric removal of rolled skin releasing internal residual stress or excessive clamping jaw pressure | Alternate roughing passes symmetrically across both sides, leave 0.4 mm stock for stress relaxation, and finish-mill in low-pressure contoured soft jaws. | Flatness ≤ 0.02 mm / 100 mm |
| Deep Pocket Wall Taper & Chatter | Tool stickout exceeding L/D > 4:1 causing harmonic regeneration and radial tool push-off | Maximize internal corner radii (R ≥ 1/3 cavity depth) to permit larger-diameter stubby carbide tools and apply variable-helix climb milling. | Optimal pocket L/D ≤ 4:1 |
| Bore Out-of-Roundness (3-Lobing) | Three-jaw chuck clamping distortion on thin-walled rings or thermal spindle growth | Switch to full-wrap pie jaws or custom fixtures, execute a zero-offset spring boring pass, and verify with Mitutoyo three-point internal micrometers and Go/No-Go plug gauges before unclamping. | Cylindricity ≤ 0.008 mm |
| Post-Coating Thread / Bore Binding | Failure to account for 10–50 μm (0.4–2.0 mil) dimensional buildup from Type II/III anodizing or electroless nickel | Mask critical H7 bores with silicone plugs or pre-machine pitch/bore diameters oversize by 2× coating thickness per surface. | Masking on tolerances ≤ ±0.02 mm |
Engineering Trade-Offs: When NOT to Over-Specify
When to Avoid Over-Specifying (Engineering Cost-Tolerance Trade-Offs): Never apply blanket ±0.005 to ±0.010 mm (±0.0002″ to ±0.0004″) tolerances or simultaneous 5-axis callouts across non-mating exterior surfaces and clearance brackets.
Tightening a non-critical feature from standard ISO 2768-mK (±0.10 to ±0.20 mm) to ±0.010 mm increases cycle time and inspection overhead by 2.0× to 3.5× due to mandatory semi-finishing passes, thermal soak cycles, and dedicated CMM coordinate probing. Reserve tight tolerances strictly for functional bearing journals, dowel pins, and sealing faces, while letting 3-axis and 4-axis VMCs handle prismatic geometry efficiently.
🔗 Related CNC DFM & Metrology Engineering Guides:
To further optimize cycle time and dimensional stability in DFM-optimized CNC milled components, combine proper internal corner relief with datum-based coordinate inspection. Consult our shop-floor engineering guides on Maintaining Dimensional Stability in Thin-Wall Machining, Eliminating Sharp Internal Corners & Tool Deflection, and Precision CMM Metrology & GD&T Verification.
6. Technical Engineering FAQ
End mills rotate on a central spindle, creating circular radii equal to tool radii. Consequently, inside vertical corners retain curved fillets unless secondary wire EDM or broaching is deployed. At AS Prototypes, our engineering team validates these parameters against ISO 2768-mK general tolerances (with critical mating features held to ±0.010 mm / ±0.0004″) and provides 24-hour DFM feedback.
Engineers recommend limiting pocket depth to three times tool diameter. Depths exceeding four times diameter require long tool reach, which causes tool deflection, chatter, and surface waviness. At AS Prototypes, our engineering team validates these parameters against ISO 2768-mK general tolerances (with critical mating features held to ±0.010 mm / ±0.0004″) and provides 24-hour DFM feedback.
For aluminum alloys like 6061-T6, the recommended minimum wall is 1.5 mm, with a feasible limit of 0.8 mm. For plastics like Delrin, maintain walls above 2.0 mm to prevent thermal distortion. At AS Prototypes, our engineering team validates these parameters against ISO 2768-mK general tolerances (with critical mating features held to ±0.010 mm / ±0.0004″) and provides 24-hour DFM feedback.
Partner with Our Precision CNC Machining & Engineering Team
Eliminate tool deflection, residual stress distortion, and tolerance stack-up risks before production begins. Upload your 3D CAD files (STEP/IGES) and 2D GD&T drawings for a comprehensive shop-floor DFM review and custom quotation.
Upload 3D CAD for Engineering DFM & RFQ